Hibernate开发前准备
Eclipse插件安装
使用Eclipse进行开发时,需要安装Hibernate Tools 插件,方便Eclipse进行Hibernate开发.
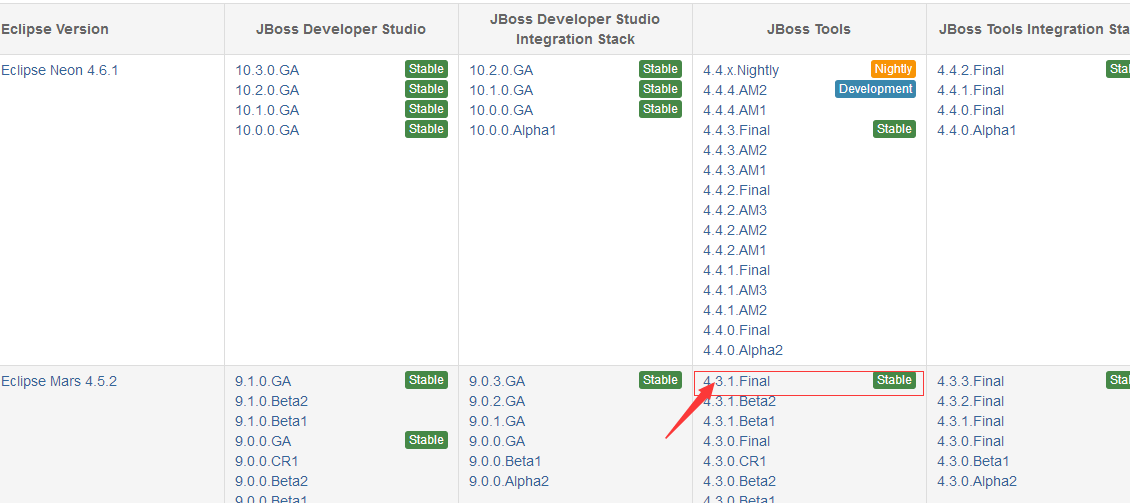
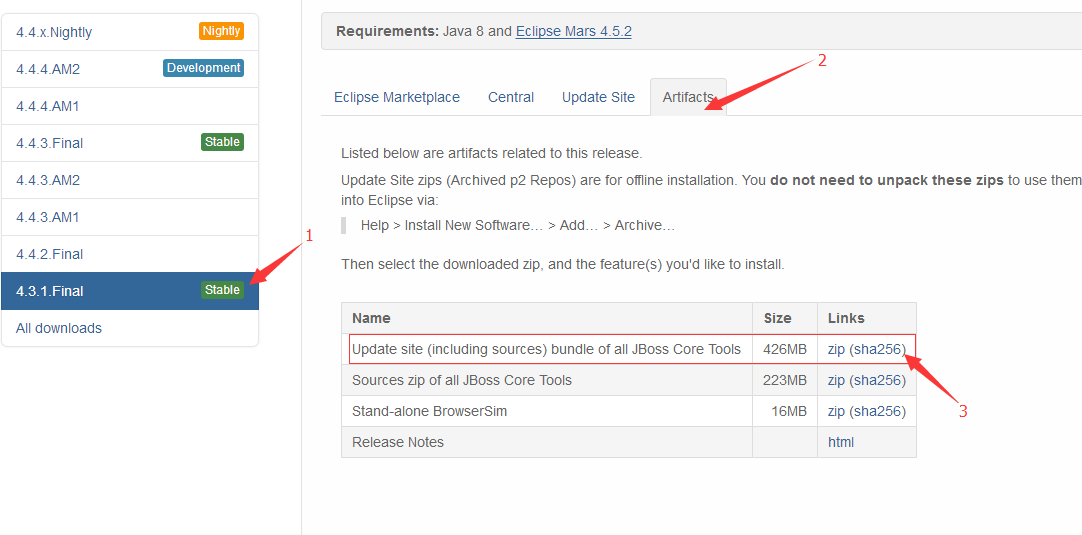
去Hibernate官网Tool下载页进行下载 JBoss Tools,注意选择你的Eclipse对应版本,例如我使用的是Eclipse mars 版,选择mars对应JBoss Tools.
下载完成后通过Eclipse离线安装插件(别告诉我你不会…)
如果是MyEclipse用户可以不用下载安装,MyEclipse本身集成了对Hibernate开发的支持,而且相当好用!
依赖包下载导入
Hibernate开发必须的依赖包
官网首页下载最新的依赖包,打开压缩包lib/required目录下的jar包都是必须的,项目中记得导入
对应数据库的JDBC依赖包
这里使用MySQL数据库,需要去官网下载mysql-connector-java.jar
导入单元测试包 JUnit4.jar
Hibernate开发基本步骤
编写配置文档hibernate.cfg.xml
右键新建一个hibernate配置文件,添加常用配置
1
2
3
4
5
6
7
8
9
10
11
12
13
14
15
16
17
18
19
20
21
22
23
24
25
26
27
28
29
30
31
32
33
| <?xml version='1.0' encoding='UTF-8'?>
<!DOCTYPE hibernate-configuration PUBLIC
"-//Hibernate/Hibernate Configuration DTD 3.0//EN"
"http://www.hibernate.org/dtd/hibernate-configuration-3.0.dtd">
<hibernate-configuration>
<session-factory>
<property name="connection.driver_class">com.mysql.jdbc.Driver</property>
<property name="connection.url">jdbc:mysql://localhost:3306/hibernate?useUnicode=true&characterEncoding=UTF-8&useSSL=true</property>
<property name="connection.username">root</property>
<property name="connection.password">root</property>
<property name="dialect">org.hibernate.dialect.MySQL5Dialect</property>
<property name="show_sql">true</property>
<property name="format_sql">true</property>
<property name="hbm2ddl.auto">create</property>
<mapping resource="lcm/hbn/model/Student.hbm.xml"/>
</session-factory>
</hibernate-configuration>
|
编写实体类
假如我们在数据库中创建一个学生表,则需要在程序中编写一个对应的实体类 Student
1
2
3
4
5
6
7
8
9
10
11
12
13
14
15
16
17
18
19
20
21
22
23
24
25
26
27
28
29
30
31
32
33
34
35
36
37
38
39
| public class Student {
private int id;
private String name;
private int age;
private String address;
private Date birthday;
public Student(){
}
public Student(int id, String name, int age, String address, Date birthday) {
this.id = id;
this.name = name;
this.age = age;
this.address = address;
this.birthday = birthday;
}
@Override
public String toString() {
return "Student [id=" + id + ", name=" + name + ", age=" + age + ", address=" + address + ", birthday="
+ birthday + "]";
}
public int getId() {
return id;
}
public void setId(int id) {
this.id = id;
}
...
}
|
生成对应实体类的映射文件并添加到配置文档中
右键项目选择Hibernate生成 hbn.xml文件,通过JBoss Tools 插件自动生成Student.hbn.xml 文件
1
2
3
4
5
6
7
8
9
10
11
12
13
14
15
16
17
18
19
20
21
22
23
24
25
|
<!DOCTYPE hibernate-mapping PUBLIC "-//Hibernate/Hibernate Mapping DTD 3.0//EN"
"http://hibernate.sourceforge.net/hibernate-mapping-3.0.dtd">
<hibernate-mapping>
<class name="lcm.hbn.model.Student" table="STUDENT">
<id name="id" type="int">
<column name="ID" />
<generator class="assigned" />
</id>
<property name="name" type="java.lang.String">
<column name="NAME" />
</property>
<property name="age" type="int">
<column name="AGE" />
</property>
<property name="address" type="java.lang.String">
<column name="ADDRESS" />
</property>
<property name="birthday" type="java.util.Date">
<column name="BIRTHDAY" />
</property>
</class>
</hibernate-mapping>
|
在hibernate.cfg.xml文件中配置映射文件
1
2
|
<mapping resource="lcm/hbn/model/Student.hbm.xml"/>
|
调用Hibernate API进行测试
编写测试类 StudentTest,记得导入JUnit包
1
2
3
4
5
6
7
8
9
10
11
12
13
14
15
16
17
18
19
20
21
22
23
24
25
26
27
28
29
30
31
32
33
34
35
36
37
38
39
40
41
42
43
44
45
46
47
48
49
| public class StudentTest {
private SessionFactory sessionFactory;
private Session session;
private Transaction transaction;
@Before
public void init() {
Configuration configuration = new Configuration().configure();
ServiceRegistry serviceRegister = new StandardServiceRegistryBuilder().configure().build();
sessionFactory = configuration.buildSessionFactory(serviceRegister);
session = sessionFactory.openSession();
transaction = session.beginTransaction();
}
@After
public void destory() {
transaction.commit();
session.close();
sessionFactory.close();
}
@Test
public void testSave() {
Student s = new Student(1, "张三", 20, "上海", new Date());
session.save(s);
}
}
|